Thursday, March 6, 2014

Wednesday, March 5, 2014
Indeterminacy Part 1 revised
I revised my original instructions for my indeterminacy assignment. I decided to add a component.
Instead of using the instructions to create a single artwork, we will use the formula to create 10 separate images and layer them in Photoshop reducing the opacity with each additional layer.
Instead of using the instructions to create a single artwork, we will use the formula to create 10 separate images and layer them in Photoshop reducing the opacity with each additional layer.
 |
| #1 |
 |
| #2 |
 |
| #3 |
 |
| #4 |
 |
| #5 |
 |
| #6 |
 |
| #7 |
 |
| #8 |
 |
| #9 |
 |
| #10 |
 |
| Final Compilation |
REVISED INSTRUCTIONS
Step 1: Go to random.org
Step 2: Change the Max number on the Random Number
Generator to 10. The numbers generated will determine the number of each shape
you will add to your canvas.
Step 3: Open Adobe Illustrator. Set your new document
to 12” x 12”.
Step 4: Generate a number of shapes that you will add
to your canvas for the following shapes:
1. Circle (Ellipse
tool – make sure to hold the shift key down to create a symmetrical circle)
2. Rectangle
3. Line
4. Triangle (Star
tool – click once after selecting the tool and change # of points to 3 to
create a triangle)
The shapes do not have to be of equal size or placed in any
predetermined pattern. Just follow the number of shapes generated by the Random
Number Generator.
Step 5: Change the Max number on the Random
Shape Generator to 4.
Step 6: The number generated by the Random
Number Generator will correspond to the number listed next to the shape above.
You will apply colors to the shapes/lines in the following order:
· Red
· Blue
· Green
· Black
Example: The first color is red. The Random Number Generator
generates the number 4. All Triangles would be changed to Red. The second color
is blue. The Random Number Generator generates the number 2. All Rectangles
would be changed to blue. Continue this operation 4 times. If the same # is
generated multiple times, you will change that item multiple times (in my
example, I got # 3 two times. First I changed the lines to green, then they
were changed back to black).
Step 7: Repeat
process 10 times for 10 separate canvases. Export each iteration as a .jpg
Step 8: Open
Photoshop.
Step 9: Open your
first .jpg, this will be your base layer. Leave at 100% opacity. Adjust canvas
size if it did not save as 12”x12”.
Step 10: “Place”
each additional randomly created jpg as a layer in this document. Reduce the
opacity of each layer by 10%. You will start at 100% with the base layer and
the 10th layer set at 10%.
Step 11: Flatten
image and save as jpg.
Tuesday, March 4, 2014
Indeterminacy Part 1
3 artists using Chance
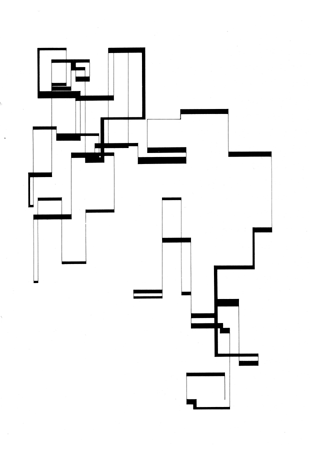
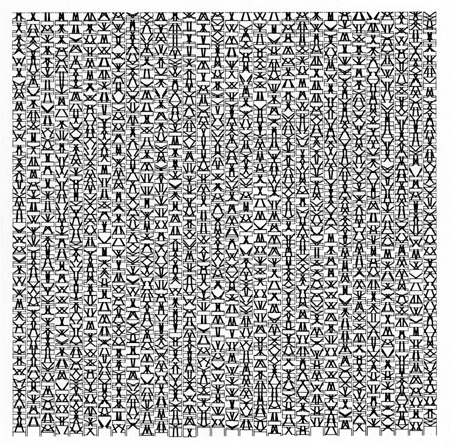
Jean Arp - Used torn paper to create collages left to chance. Jean would drop torn bits of paper and affix them where they landed.


Manfred Mohr - digital artist using algorithms to generate chance art. He programmed his first art piece in 1969 and was still creating work as of 2012.


I decided to use a combination of Illustrator and a random number generator to create a random artwork.
I used to do this exercise with my students using paper, pencil and markers. I created slips of paper with shapes, numbers and colors. It was up to the students to determine size, placement, etc. It was really interesting to see how each student interpreted the same instructions. We called it "same but different" (I worked with 5-10 year olds and they liked the name).
Here is the result of my random number generation:

Jean Arp - Used torn paper to create collages left to chance. Jean would drop torn bits of paper and affix them where they landed.


Jackson Pollock (likely one of the greatest known artists that left things to chance) allowed the materials to fall where they may and interact with each other instead of meticulously placing materials on canvas.

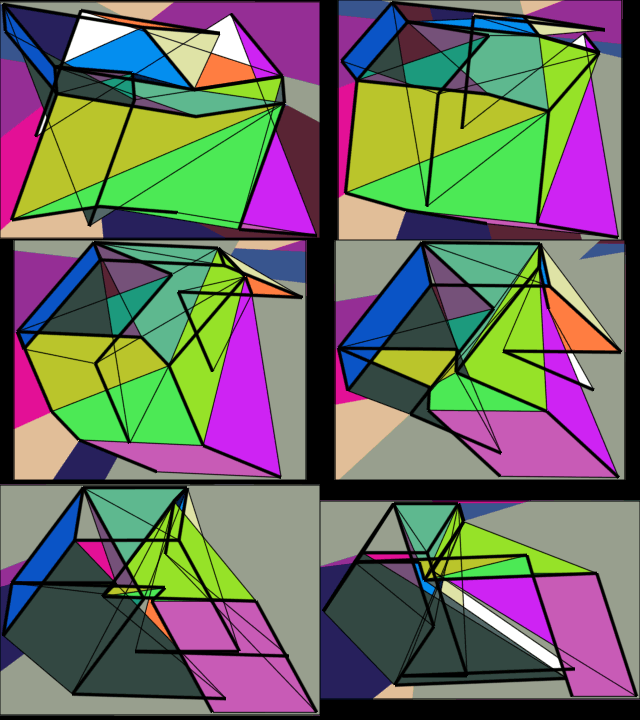
I decided to use a combination of Illustrator and a random number generator to create a random artwork.
I used to do this exercise with my students using paper, pencil and markers. I created slips of paper with shapes, numbers and colors. It was up to the students to determine size, placement, etc. It was really interesting to see how each student interpreted the same instructions. We called it "same but different" (I worked with 5-10 year olds and they liked the name).
Here is the result of my random number generation:
Here is the text of my instructions:
Step 1: Go to random.orgStep 2: Change the Max number on the Random Number Generator to 10. The numbers generated will determine the number of each shape you will add to your canvas.Step 3: Open Adobe Illustrator. Set your new document to 12” x 12”.Step 4: Generate a number of shapes that you will add to your canvas for the following shapes:1. Circle (Ellipse tool – make sure to hold the shift key down to create a symmetrical circle)2. Rectangle3. Line4. Triangle (Star tool – click once after selecting the tool and change # of points to 3 to create a triangle)The shapes do not have to be of equal size or placed in any predetermined pattern. Just follow the number of shapes generated by the Random Number Generator.Step 5: Change the Max number on the Random Shape Generator to 4.Step 6: The number generated by the Random Number Generator will correspond to the number listed next to the shape above. You will apply colors to the shapes/lines in the following order:· Red· Blue· Green· BlackExample: The first color is red. The Random Number Generator generates the number 4. All Triangles would be changed to Red. The second color is blue. The Random Number Generator generates the number 2. All Rectangles would be changed to blue. Continue this operation 4 times. If the same # is generated multiple times, you will change that item multiple times (in my example, I got # 3 two times. First I changed the lines to green, then they were changed back to black).
Monday, February 17, 2014
Culture Jamming (addendum)
I thought I wasn't going to be able to put up my gNOme parking signs, but last night I happened to take the dog for a walk and found some accessible signs!


The gNOme is pretty subtle, but it's there! And it's no longer a "tow away zone" but a "stow away" zone :)
The gNOme is pretty subtle, but it's there! And it's no longer a "tow away zone" but a "stow away" zone :)
Sunday, February 16, 2014
Culture Jammig Part 2 - Mission Accomplished
 |
| Sticker placed on an "all natural" meal that included "beef and starch strips" in the ingredients |
 |
| Placed on conventionally raised strawberries |
 |
| Conventionally grown cabbage |
 |
| Add caption |
 |
| 41% Glyphosate - Yes let's poison everything, including our ground water |


 |
| The one display in the entire store that has natural products. |


 |
| neonicotinoid pesticide's? The bees don't stand a chance when pesticides are bred into the plants |


It was bit harder being stealthy in the Dollar Store, where I found the "all natural beef and starch strips" than it was in Home Depot. I was going to hit WalMart as well, but ran out of stickers after two stores!
Saturday, February 15, 2014
Culture Jamming Part 1
I chose the clenched fist image to manipulate for this assignment. It is often associated with the Black Panther Party and is a common symbol of solidarity for a variety of causes.


 |
| 2009 Facebook Advert |
Obviously it has been appropriated repeatedly over the years (I think the 2009 Facebook advert shown shows just how grossly misappropriated it can be!).
The idea of food freedom (the ability to choose to eat how you want, grow what you want, sell to whom you want) is under fire. We are rapidly losing the right to choose how we obtain our food and who we obtain it from is being cracked down on left and right.
The US government and it's various agencies are working diligently to make sure we are only eating foods that have been grown to be less nutritious and have had Monsanto's dirty hands on it (the head of the FDA was formerly a Monsanto executive - talk about a conflict of interest). They are systematically dismantling the small, local food sources in favor of mass farmed, GMO crops.
I imagined this appropriation when I had an assignment to generate logos for a non profit. I didn't really develop it beyond the thumbnail, as my instructor thought it was too controversial.

I've created 24 stickers on a clear sticker paper that I will distribute in various locations over the next 24 hours. I have a few places in mind and will likely start tonight.
I also did another piece, that might be a bit harder to insert into the public. My street often as no parking/no stopping signs due to construction. (I am rarely ever home, but it looks sort of like I missed my opportunity for the easy target as of today. I didn't see any signs this morning.)
I'll post my photos before class on Tuesday!
Thursday, February 13, 2014
Illustrator
 |
| Illustration using combination of Illustrator (line work) and Photoshop (painting) |
 |
| Mixed Media using vector files created in Illustrator to cut paper using CNC cutting machine (still waiting on my laser cutter) |
 |
| Paper flowers created from vector files in Illustrator. Again used in conjunction with CNC paper cutting machine |
 |
| Technical drawing using Illustrator instead of hand drafting |
 |
| Technical drawing using Illustrator |
 |
| Product rendering using combination of Illustrator and Photoshop |
 |
| Product rendering using combination of Illustrator and Photoshop |
 |
| 3D print using scalable vector graphics (.svg file), imported into TinkerCAD and printed on a Type A Machines Printer |
 |
| Laser rastered and cut medallion using scalable vector graphics on Epilog 60 watt laser |
 |
| Laser etched logo using scalable vector graphics on Epilog 60 watt laser |
 |
| Save the Date cards designed in Illustrator to take advantage of scaleable boarders to be usable for invitations, reply cards and map cards. |
 |
| Letter press using scalable vector graphics that have been 3D printed |
Subscribe to:
Posts (Atom)